
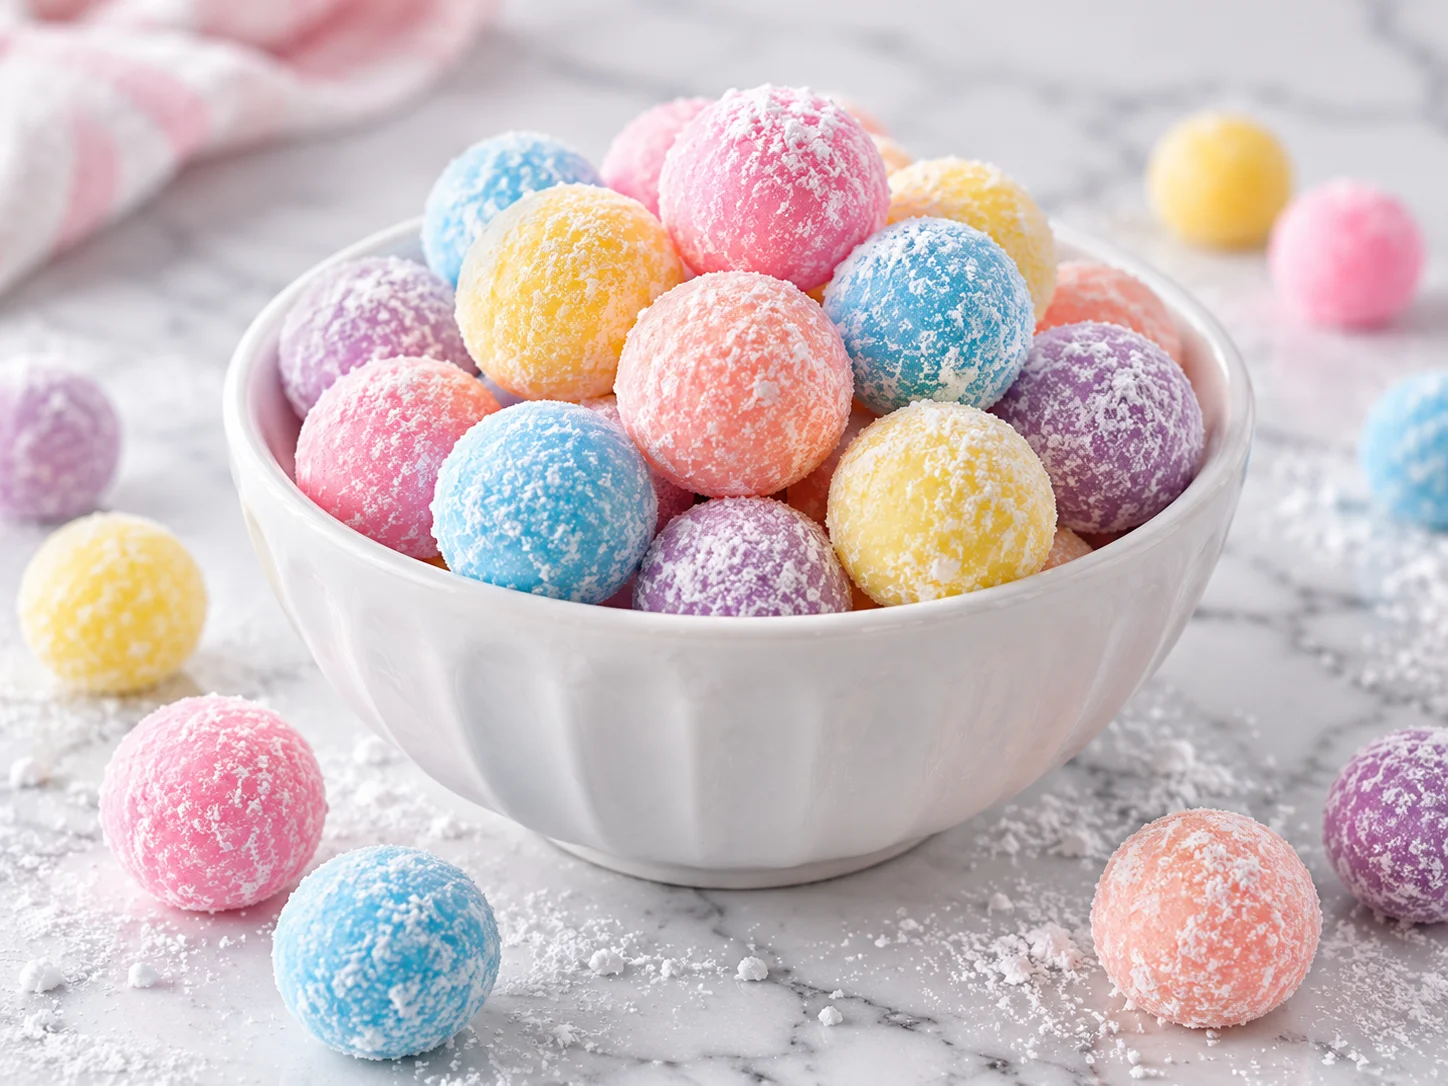
Craving a colorful, sweet treat with that nostalgic bubblegum flavor? These Homemade Bubblegum Flavored Candy Balls bring together sugar, corn syrup, fruity flavoring, and a dusting of powdered sugar for a fun homemade candy.
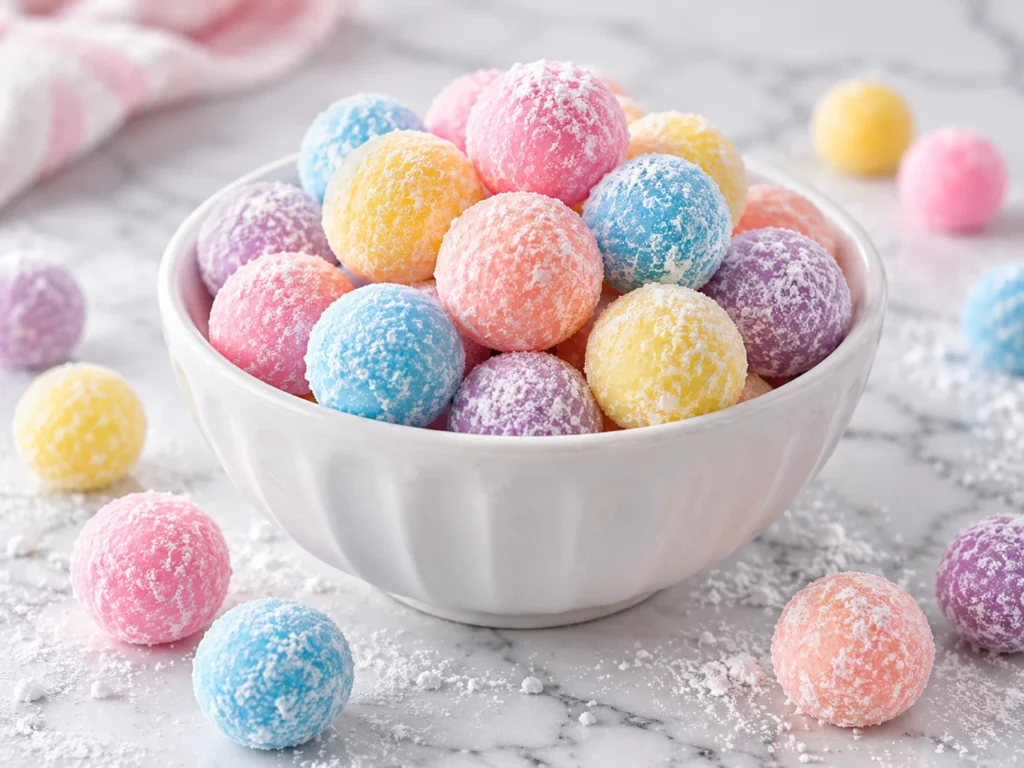
With their bright pink, blue, yellow, and purple colors, these little sweets look beautiful in a candy bowl. They’re inspired by classic bubblegum, but they’re sugar candies rather than actual gum you can blow bubbles with.
The ingredient list is short, and most of the work happens in one saucepan. You’ll need a candy thermometer, some patience while the mixture cools, and a little extra time for the candies to set.
These colorful treats are a lovely addition to birthday party dessert tables, candy gift boxes, and weekend baking projects. Pair them with Creamy Strawberry Fruit Dip for a cheerful sweet spread.
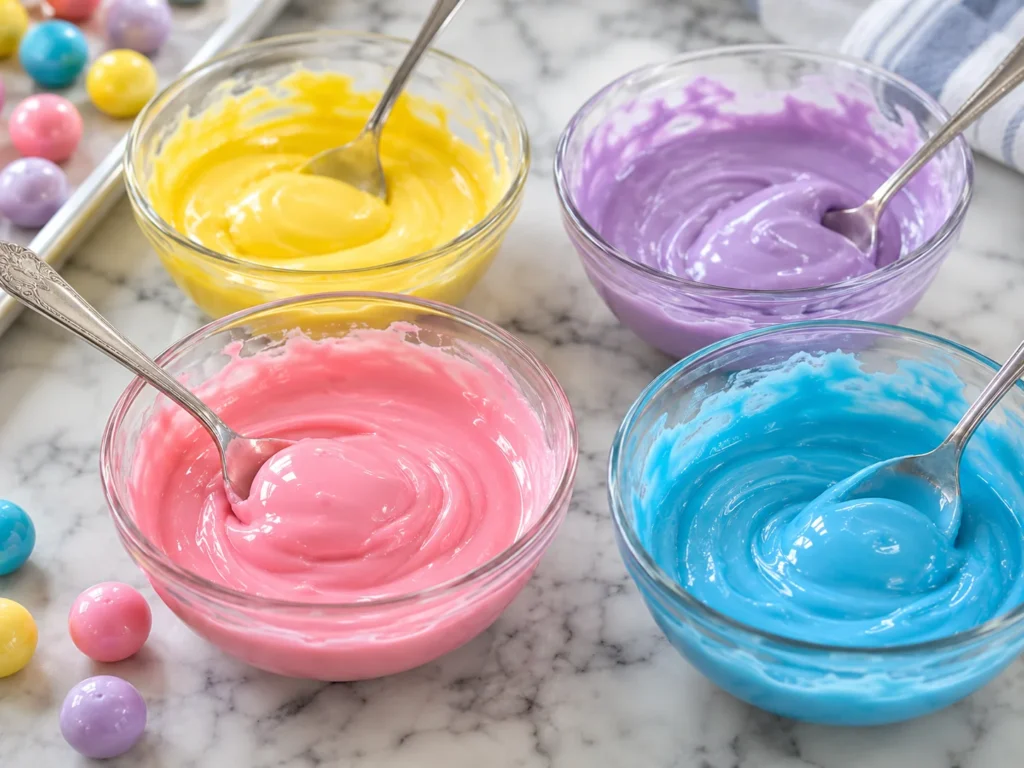
I prefer dividing the flavored mixture into small portions before adding food coloring. That way, the colors stay bright and separate instead of blending into one muddy shade.
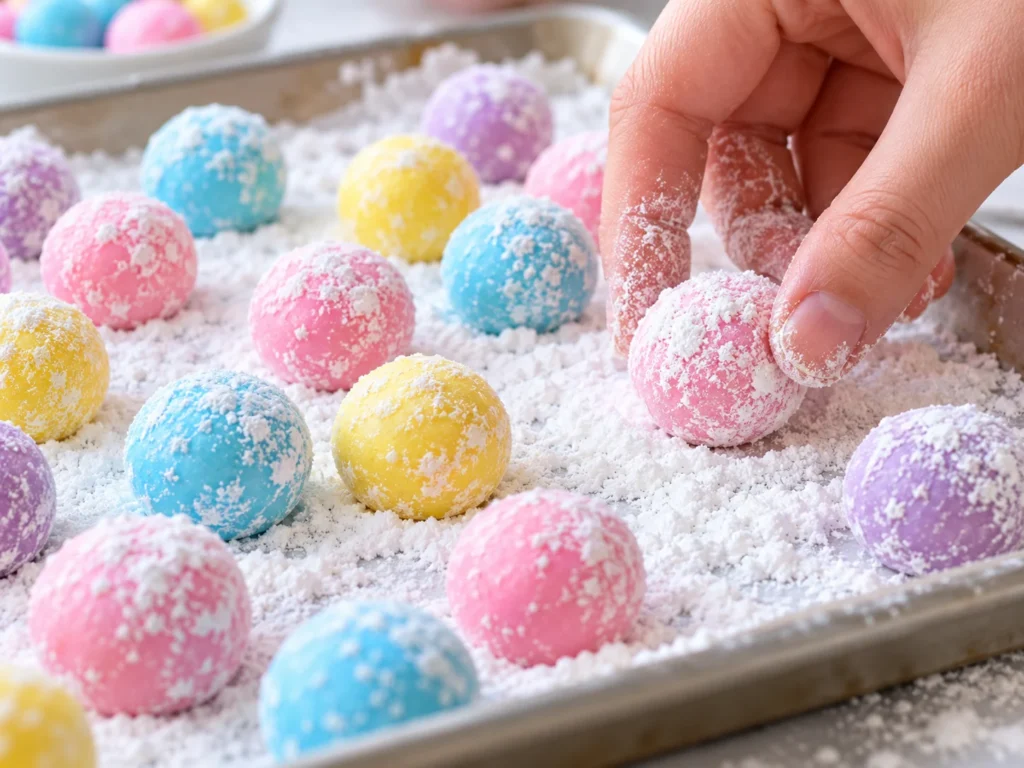
Make a batch in your favorite flavors, dust the finished pieces with powdered sugar, and serve them in small bowls for an eye catching candy display.
Why You’ll Love These Homemade Bubblegum Candy Balls
- Bright Colors: Pretty pastel shades make these candies especially fun for parties.
- Simple Ingredients: Sugar, corn syrup, flavoring, and a few pantry basics create the candy mixture.
- Custom Flavors: Strawberry, peppermint, and bubblegum flavorings let you change the taste.
- Party Friendly: Small portions are easy to arrange in candy dishes and gift containers.
- Fun Project: Making homemade candy is a satisfying kitchen activity for adults and older children with supervision.
Ingredients You’ll Need
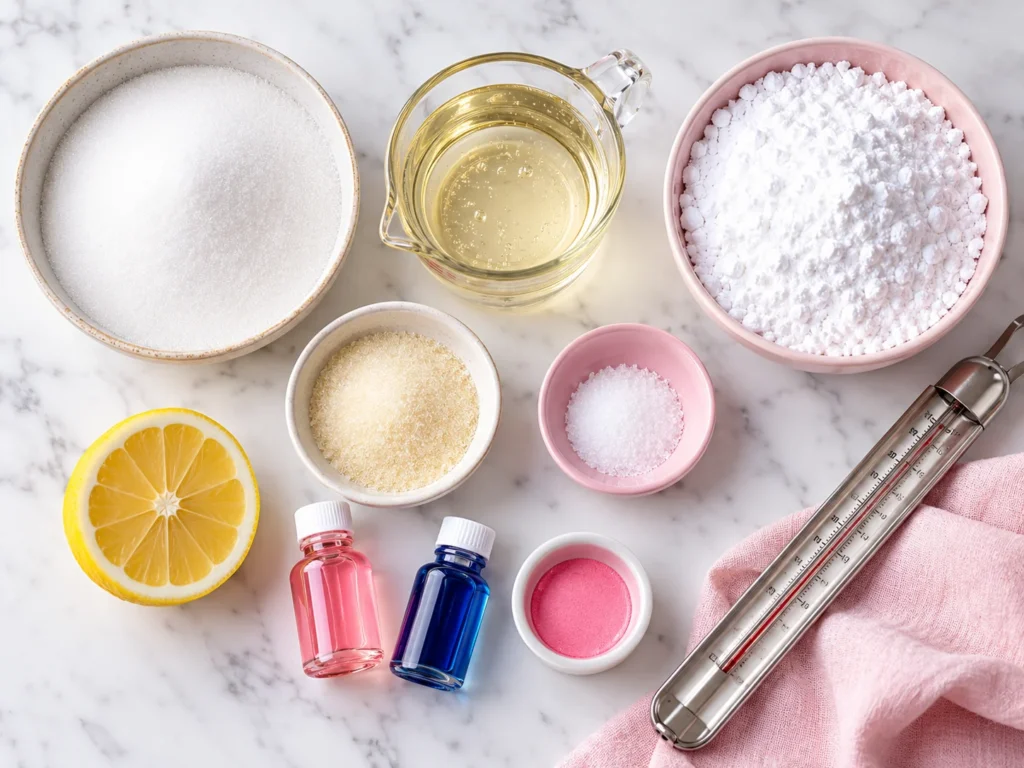
These simple ingredients create sweet, flavored candy with a light powdered sugar coating.
- Granulated sugar: 2 cups provide the main sweetness and candy structure.
- Light corn syrup: ½ cup helps control sugar crystallization and keeps the candy smoother.
- Unflavored gelatin: ½ teaspoon adds a little body, although this small amount will not create real chewing gum.
- Citric acid: ¼ teaspoon adds a gentle tang that balances the sweetness.
- Powdered sugar: ½ cup is used for dusting the finished candies and reducing stickiness.
- Flavoring extracts: A few drops of concentrated food grade strawberry, peppermint, or bubblegum flavoring.
- Food coloring: Optional, for creating bright pink, yellow, blue, and purple candies.
- Water: ½ cup for the sugar syrup, plus 1 tablespoon for blooming the gelatin.
Step by Step Instructions
1. Prepare the Ingredients
Line a baking sheet with parchment paper and have your candy thermometer ready.
Measure the sugar, corn syrup, gelatin, citric acid, and powdered sugar before starting. Sprinkle the gelatin over 1 tablespoon of cold water in a small bowl and let it hydrate for about 5 minutes.
2. Cook the Sugar Syrup
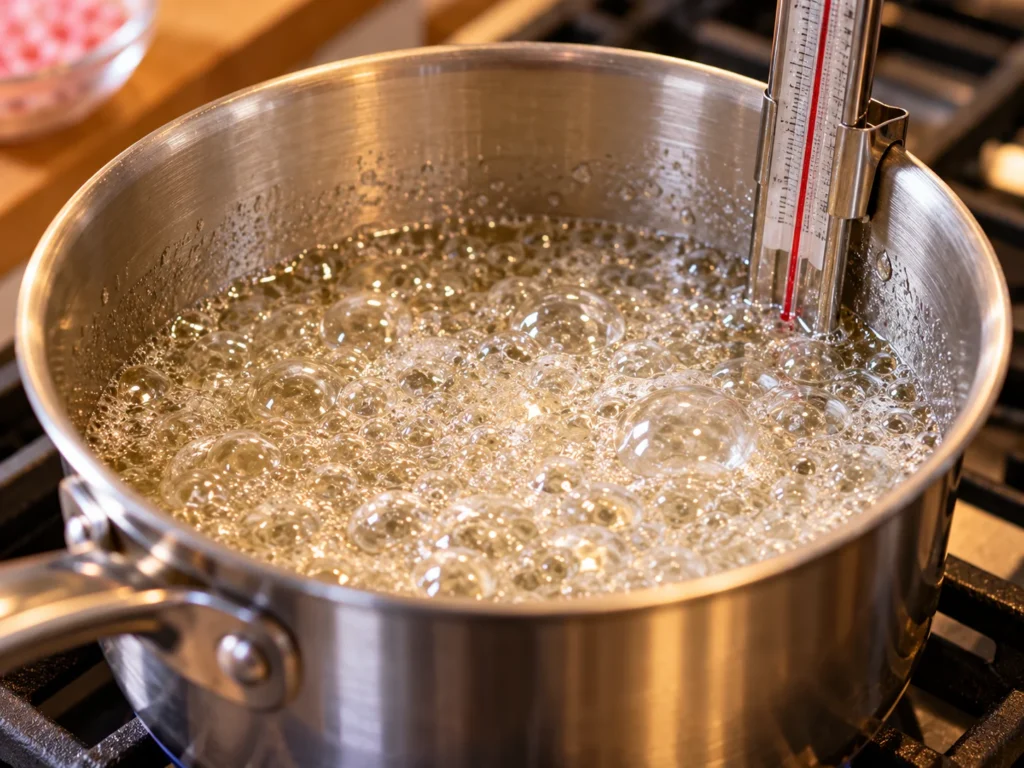
Combine the granulated sugar, corn syrup, and ½ cup water in a heavy saucepan.
Warm over medium heat, stirring gently until the sugar dissolves. Once the mixture begins boiling, stop stirring and cook until the thermometer reaches approximately 245°F (118°C), the firm ball stage.
Keep children away from the stove during this step because hot sugar syrup can cause serious burns.
3. Add Gelatin and Flavor
Remove the saucepan from the heat and let the bubbling settle. Once the syrup has cooled to approximately 200°F (93°C), carefully stir in the hydrated gelatin until dissolved.
Add the citric acid and your chosen flavoring according to its strength. Keep the flavoring amount small at first, since concentrated candy extracts can be quite strong.
4. Create Colorful Candy Portions
If using several colors, carefully divide the warm mixture among heatproof containers and stir a small amount of food coloring into each portion.
Use a lightly oiled teaspoon to drop small portions onto the prepared parchment. Allow them to cool completely without touching the hot syrup.
This method makes small candy drops. The quantities in the reference image do not contain enough gum base or gelatin to reliably create soft, kneadable bubblegum balls.
5. Dust and Set the Candies
Once completely cool, gently lift the pieces from the parchment and toss them lightly in powdered sugar.
Let them rest on a clean tray until the surfaces feel less sticky. The finished texture may vary from firm and chewy to quite sticky depending on the temperature reached and the room’s humidity.
Recipe Tips
- Use a Thermometer: Candy texture depends heavily on temperature, so avoid guessing when the syrup is ready.
- Stop Stirring: Once the syrup boils, unnecessary stirring can encourage grainy sugar crystals.
- Handle With Care: Never touch or taste hot candy syrup, even when it appears to have stopped bubbling.
- Control Humidity: Allow the candies to set in a cool, dry kitchen because moisture makes sugar candies sticky.
Variations and Customization Ideas
- Strawberry Flavor: Add a few drops of concentrated strawberry candy flavoring and pink coloring.
- Classic Bubblegum: Choose food grade bubblegum flavoring for that familiar sweet candy shop taste.
- Cool Peppermint: Use a tiny amount of peppermint extract for a refreshing variation.
- Rainbow Colors: Divide the syrup into several heatproof bowls and add different shades of food coloring.
- Tangy Candy: Adjust the citric acid slightly for a brighter sour note, keeping the same base recipe.
Serving Suggestions
- Birthday Candy Bowls: Arrange the colorful candies in small bowls for a festive dessert table.
- Party Favor Bags: Pack fully set, nonsticky pieces in food safe bags with parchment between layers.
- Dessert Platters: Place a few candies beside cookies and Gooey Chocolate Caramel Brownie Bars for a colorful contrast.
- Candy Gift Boxes: Separate each color with small pieces of parchment paper.
- Sweet Treat Trays: Present different candy flavors in individual dishes so guests can choose their favorites.
How to Store and Reheat
Store the finished candies in an airtight container in a cool, dry place. Use parchment paper between layers to prevent pieces from sticking together.
Because this homemade formula has not been tested for long term shelf stability, refrigerate the candies and use them within a few days. Check that the pieces maintain a good texture and discard any that develop an unusual smell or appearance.
Freezing isn’t recommended, since condensation during thawing can leave the sugar coating wet and sticky.
These candies don’t need reheating. If they become sticky, a light coating of powdered sugar may help, but it won’t correct syrup that wasn’t cooked to the right temperature.
Recipe FAQ’s
Can you make real bubblegum with sugar and corn syrup?
No. Actual chewing gum needs an edible gum base that provides its stretchy, chewable texture. This recipe produces bubblegum flavored sugar candy rather than gum suitable for blowing bubbles.
Why are my homemade candies sticky?
Sticky candy can result from undercooking the syrup, moisture in the air, or insufficient setting time. Using a thermometer and storing the pieces in a dry environment helps improve the texture.
Can I make these candies without food coloring?
Absolutely. Food coloring is only for appearance, so you can leave it out and enjoy the natural pale color of the flavored candy.
Homemade Bubblegum Flavored Candy Balls are a playful way to make colorful sweets with familiar candy shop flavors. The simple ingredient list makes them approachable, while careful temperature control helps you get a better result.