
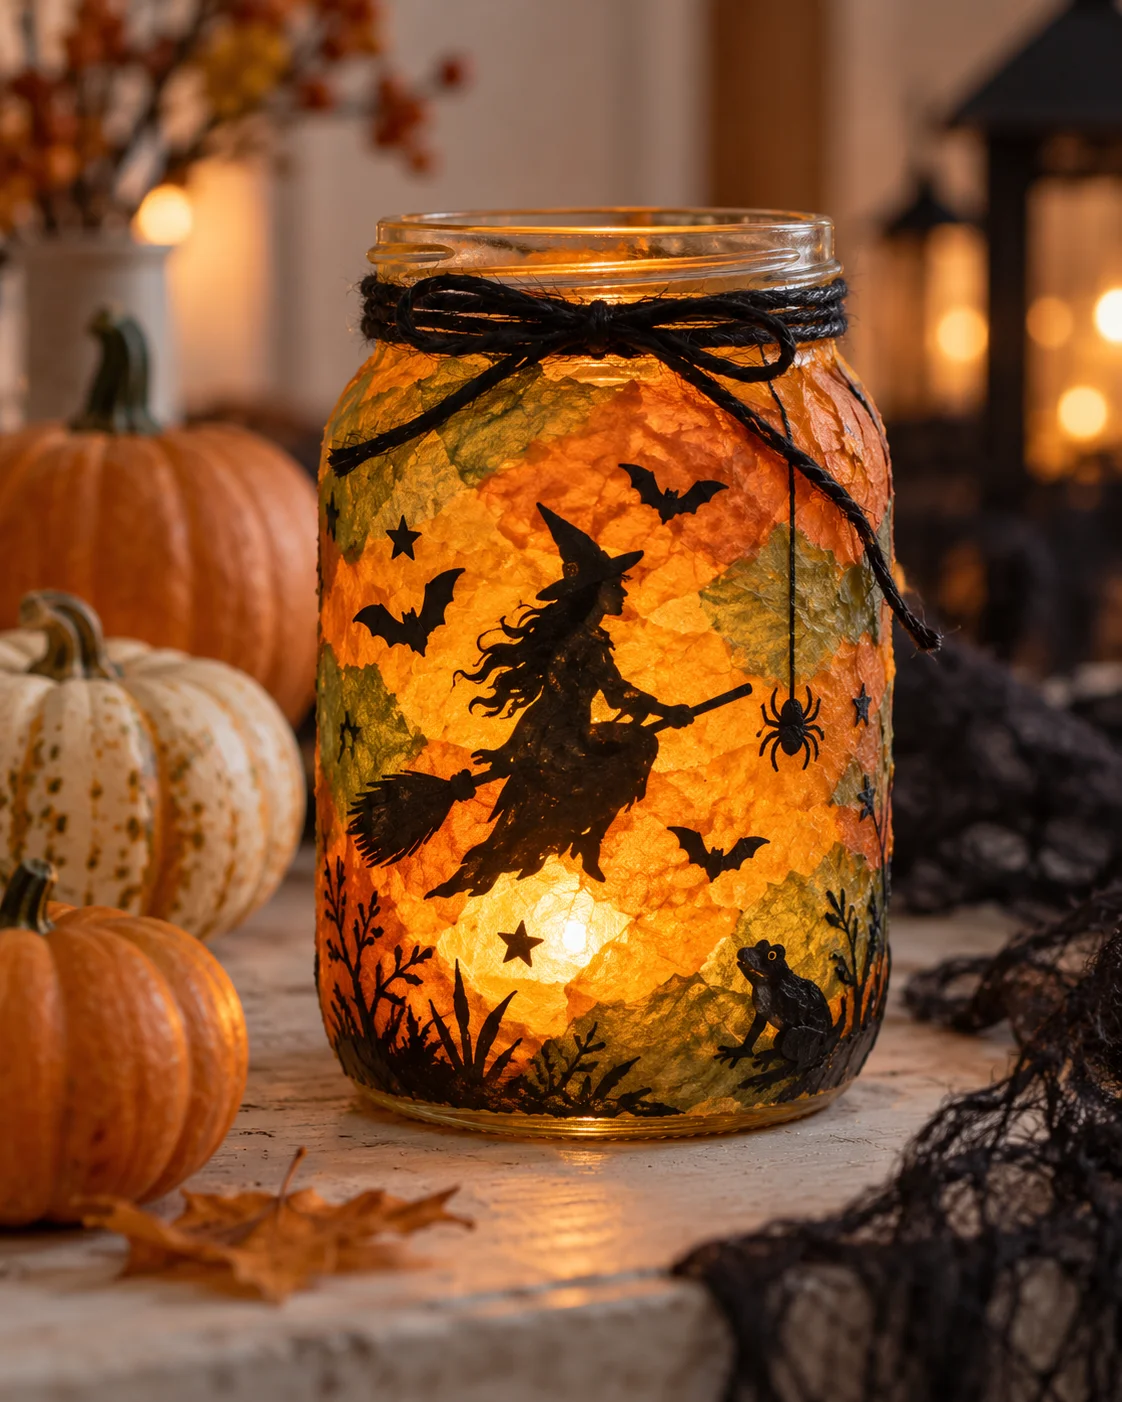
Halloween crafting doesn’t have to mean complicated supplies or a big cleanup. With a few sheets of colored paper, child-safe scissors, and some glue, kids can make cheerful decorations they’ll be proud to show off.
These five Halloween paper crafts are easy to set up at home or in the classroom. Grown-ups can help with cutting and gluing when needed, while kids choose the colors, faces, and little details that make each project their own.
1. Paper Plate Pumpkin
A paper plate makes a great base for a bright Halloween pumpkin. Kids can paint it or cover it with paper, then give it a silly, friendly, or spooky face.
You’ll need:
- A paper plate
- Orange paint, crayons, or orange paper
- Green paper
- Black paper or a black marker
- Glue and child-safe scissors
How to make it:
- Color the paper plate orange, or glue orange paper pieces over it.
- Cut a small stem from green paper and attach it to the top.
- Cut eyes, a nose, and a mouth from black paper, or draw them with a marker.
- Let everything dry before hanging the pumpkin or displaying it on a shelf.
Kids can make a whole pumpkin family by giving each one a different expression.
2. Handprint Ghost
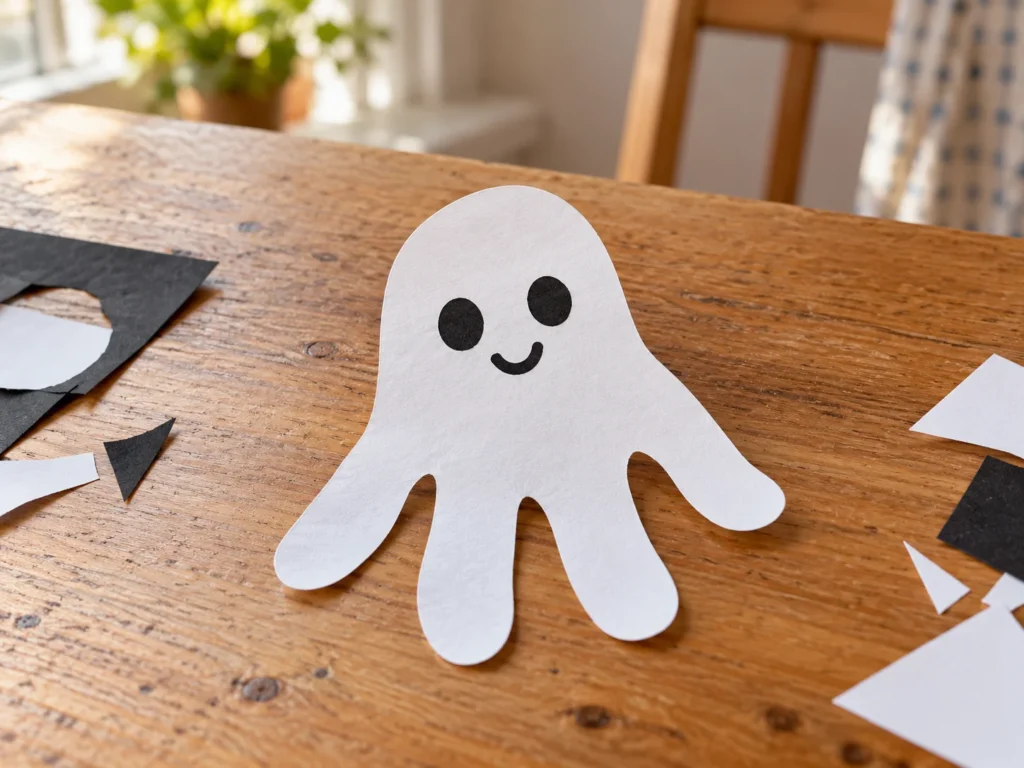
This little ghost is a sweet keepsake because it starts with your child’s own handprint. It works well as a simple afternoon craft and can later be turned into a Halloween card or garland.
You’ll need:
- White paper
- Black paper or a black marker
- Pencil
- Glue and child-safe scissors
- String, if you want to make a garland
How to make it:
- Trace a hand on white paper with the fingers pointing downward.
- Cut out the handprint. The fingers become the ghost’s wavy lower edge.
- Add two eyes and a mouth using black paper or a marker.
- Make a few ghosts and attach them to a piece of string for a quick decoration.
You can make each ghost look surprised, sleepy, or cheerful by changing its face.
3. Paper Bats
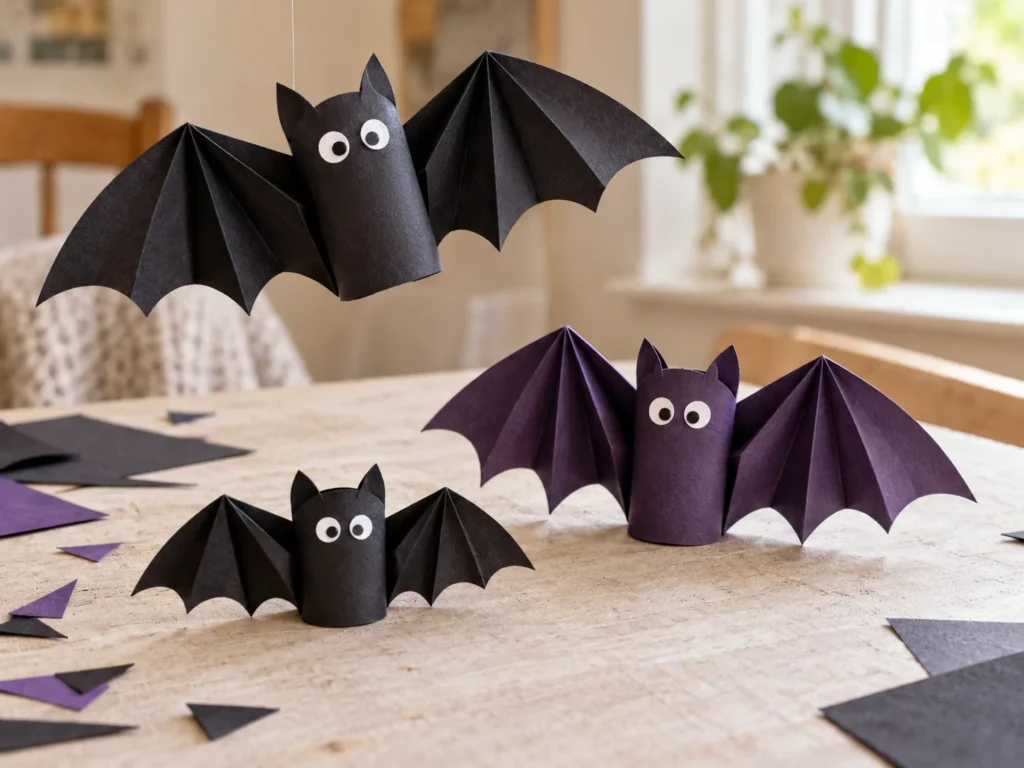
These easy paper bats are fun to make in different sizes. Stick them to a wall or window, or hang them from a string to create a simple Halloween display.
You’ll need:
- Black or dark purple paper
- White paper for the eyes
- Pencil
- Glue and child-safe scissors
- Optional: string and tape
How to make it:
- Fold a piece of paper in half and draw half of a bat shape along the fold.
- Cut along the outline, then open the paper to reveal a symmetrical bat.
- Add small white eyes and draw a mouth if you like.
- Make several bats and arrange them flying across a wall or doorway.
Younger children can decorate pre-cut bat shapes while an adult handles the cutting.
4. Halloween Paper Chain Garland
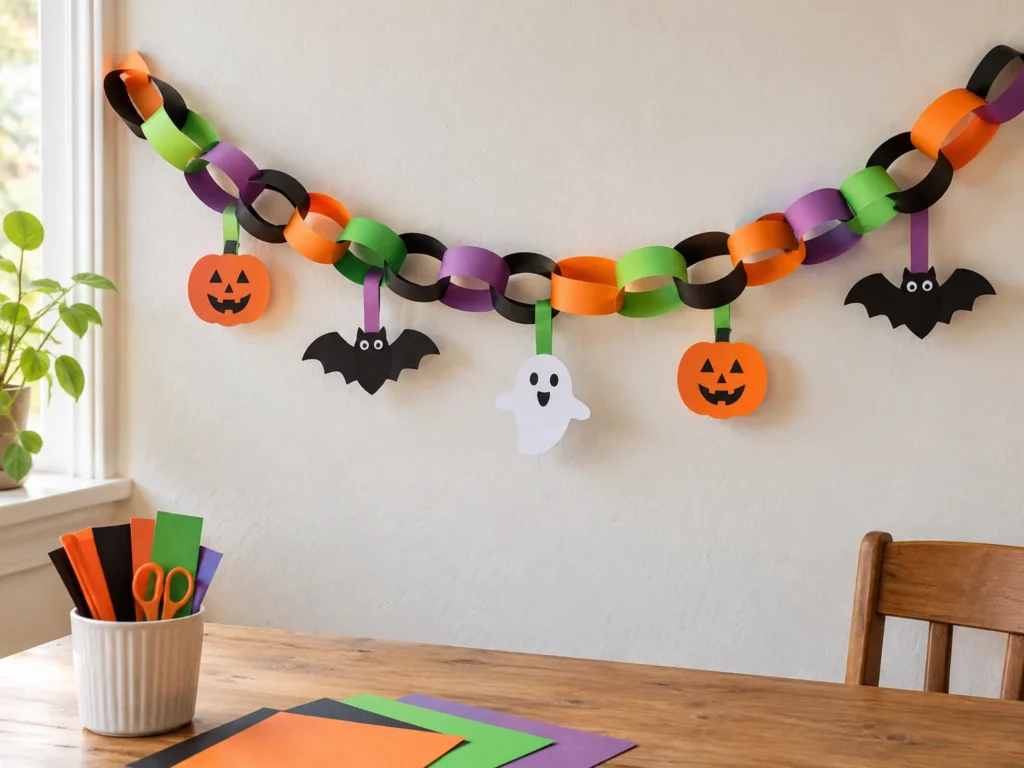
A paper chain is an easy decoration that children can help assemble. Orange, black, purple, and green strips make a festive garland for a bedroom, classroom, or party table.
You’ll need:
- Colored paper
- Ruler and pencil
- Child-safe scissors
- Glue stick or tape
- Markers or small paper shapes for decorating
How to make it:
- Cut the paper into long strips of roughly the same width.
- Join the ends of one strip to make a loop.
- Thread the next strip through the first loop, then join its ends.
- Keep adding loops until the garland is as long as you want.
- Decorate a few links with tiny pumpkins, bats, or ghost faces.
For younger kids, prepare the strips ahead of time so they can focus on linking and decorating them.
5. Paper Spider Web
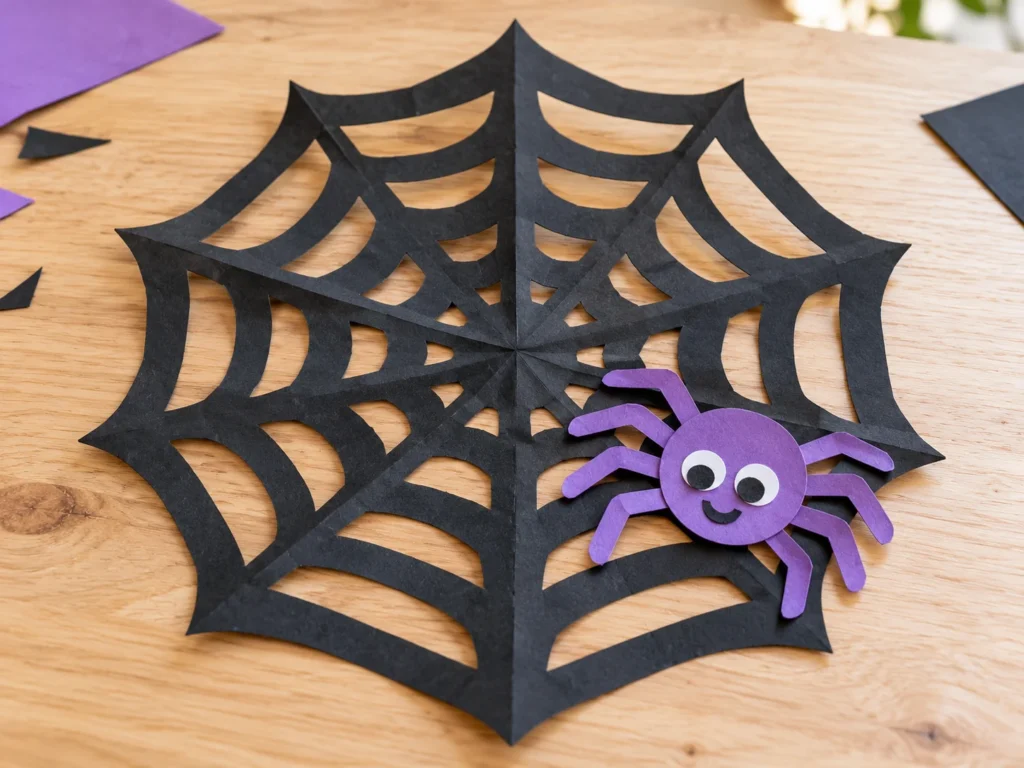
This folded-paper web looks detailed but only needs a few careful cuts. An adult can help with the folding and cutting, then kids can add a paper spider to finish the scene.
You’ll need:
- A square sheet of white or black paper
- Pencil
- Child-safe scissors
- Colored paper for a spider
- Glue
How to make it:
- Fold the square paper diagonally to make a triangle.
- Fold it again into a smaller triangle.
- Draw a few narrow lines from the folded edge toward the open edge, leaving small gaps between them.
- Carefully cut along the lines without cutting all the way through.
- Unfold the paper slowly to reveal the web.
- Cut out a small spider shape from colored paper and glue it onto the web.
If the first web tears, try thicker paper and leave wider strips between the cuts.
Make a Little Halloween Craft Afternoon
Set out the supplies before the kids begin, cover the table, and let everyone work at their own pace. The projects don’t need to look identical—funny faces, uneven wings, and colorful choices are part of what makes handmade decorations special.
For younger children, have an adult help with scissors and small pieces. Once the crafts are finished, display them together for a homemade Halloween corner.